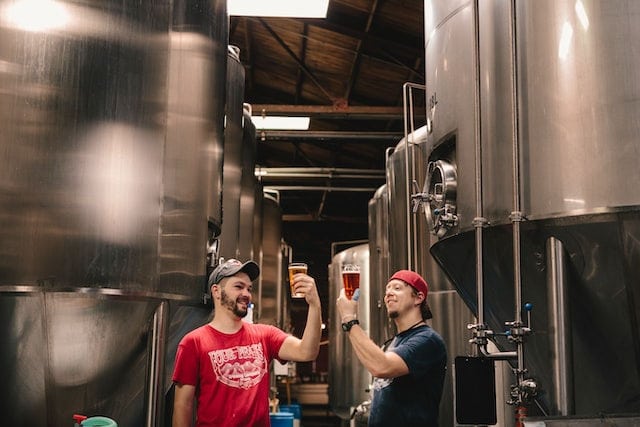
Beer brewing has been practised for an incredibly long time; there is evidence of ancient beer recipes dating back almost 5000 years. Learning how to brew beer at home will allow you to create the perfect beer to suit your individual palate and impress your friends!
With approximately 2 billion hectolitres (yes, that’s a real measurement!) of beer brewed annually worldwide, beer remains high on the alcoholic beverage list. Small-batch niche craft beers and exciting home-brewed beer varieties are also becoming wildly popular.

How To Brew Beer At Home (In 6 Steps)
Mastering how to brew beer at home may seem complicated, but thankfully it’s a relatively simple and fun pastime that can save you a boatload of cash too. Let’s now discuss what you need to get started and a 6-step process to ensure beer brewing success.
1. Ingredients
For your beer brewing adventure to be a success, you will require the main ingredients of beer.
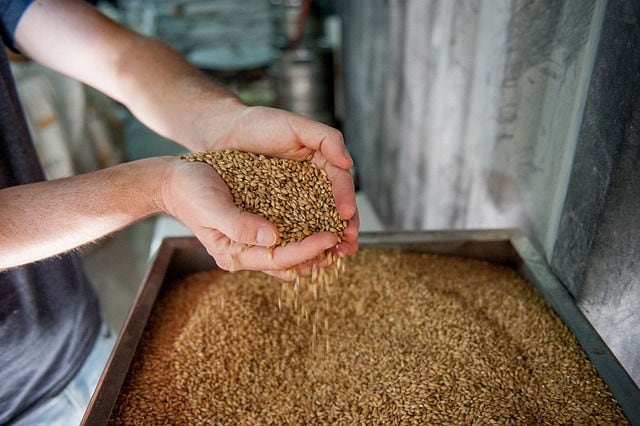
Malt, also known as malted barley, is a processed grain that naturally contains a lot of starch. Starch is used in brewing to create sugar and, ultimately, alcohol.
You’ll need to obtain malt extract; there are two types: dry malt extract (DME) and liquid malt extract (LME). The amount you need for a particular recipe depends on the type of malt extract you use.
Hops will give your beer plenty of aroma and flavour, helping it stay fresher for longer. Another essential brewing component is brewer’s yeast (available in liquid or dry form), and it is the magic of yeast that converts sugar into alcohol.
Of course, you’ll need water that’s pure, clean, and not too hard, as the quality of the water you use affects how good the beer is.
Lastly, you’ll need some priming sugar if you want to carbonate your beer. The most common priming sugar by far is dextrose (corn sugar).
2. Equipment Needed
Home brewing can be much simpler with the proper tools and equipment. For someone new to the hobby, the market’s wide variety of brewing equipment and accessories can be a little confusing.
You are given two choices. You can buy a home-brewing beer starter kit like this one on Amazon that typically includes all of the necessary equipment, or you can gather the ingredients mentioned above along with the following brewing equipment:
- Brewing kettle
- Fermenter
- Airlock
- Sanitiser/cleanser
- Auto-siphon
- Glass bottles and caps
- Bottle cleaning brush
- Bottle capper
- Grain Bag
- Scissors
- Spigot
- Bottle filler
- Transfer hoses
- Cooking thermometer (optional)
- Hydrometer (optional)
- Wort chiller (optional)
3. Sanitise
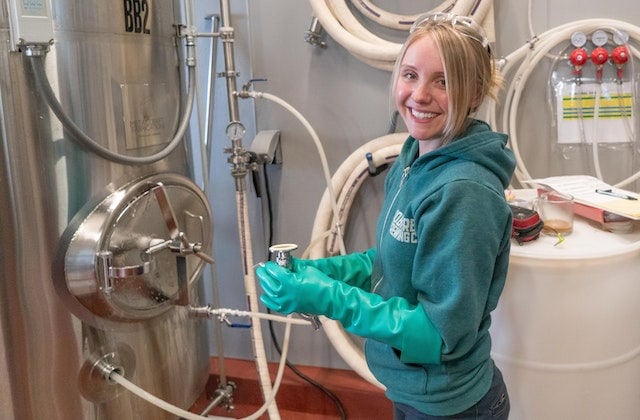
Although cleaning and sanitising your equipment may not be the most enjoyable part of brewing, it is crucial. How clean your equipment is will determine your level of success.
Sanitise ALL of your brewing equipment before you start. This includes hoses, airlocks, beer fermentor, beer brew kettle, bottles, bottle tops…. you get the idea!
Even after the initial boiling of your beer, you should still sanitise anything that then comes in contact with your wort (more on wort, later).
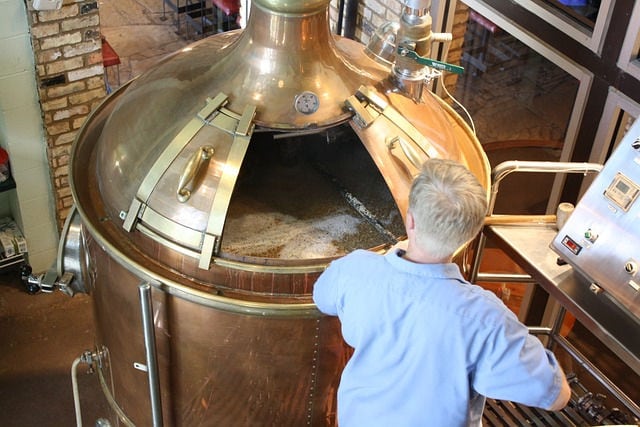
4. The Brew
‘Steeping the grains’ is the first step in the brewing process. Place your selected grains into you grain bag, add 3 gallons of water to your 5-gallon brew kettle and turn on the heat.
Once the temperature is an even 160°F, place your grain bag into the water, and leave for 60 minutes to steep (maintaining the 160°F temperature).
After the 60-minute steep-time, it’s time to remove your grain bag (allow the excess water to drip into the kettle from the grain bag). Avoid squeezing the grain bag, as this can impart undesirable flavours to your precious beer or split the bag!
Bring your beer kettle to a boil, add the malt extracts, and ensure they dissolve.
Now, hops will be added and let the mixture boil for an hour. To determine when to add hops to your boil, refer to your specific recipe.
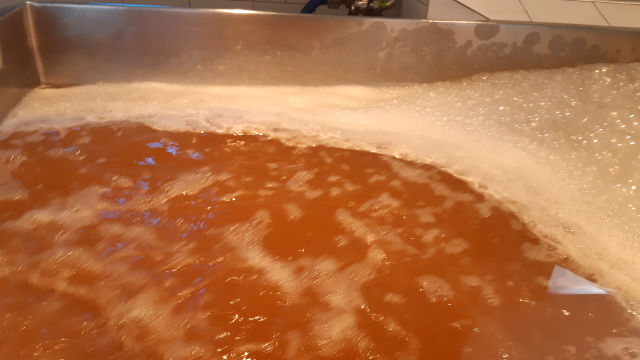
At this point, you will now have ‘wort’, also referred to as sugar water. Your wort should be cooled to approx 80°F.
5. Fermentation Process
After cooling to 80°F, pour the wort into the fermenter. Add additional water to bring the fermenter’s level up to the 5-gallon mark.
Now is the time to measure the wort’s original gravity (OG), which is essentially a way to tell how much fermentable sugars are present.
You should write down the number because you’ll need it later to determine your beer’s alcohol by volume (ABV) and your final gravity reading.
You can now add the yeast. The most straightforward is dry yeast because it doesn’t require prior preparation. Snip the corner off the yeast package with sterile scissors, add the yeast to the fermenter, and pop the airlock on top.
Keep your fermenter somewhere cool and away from sunlight. For proper fermentation, the temperature should remain at room temperature (approx 68°F).
The yeast transforms the wort’s sugar into alcohol and carbon dioxide during this procedure. At this point, you will see a head forming on your beer, and the water in the airlock will be bubbling.
Now, we wait for the fermentation process to complete, which is usually 2 weeks.
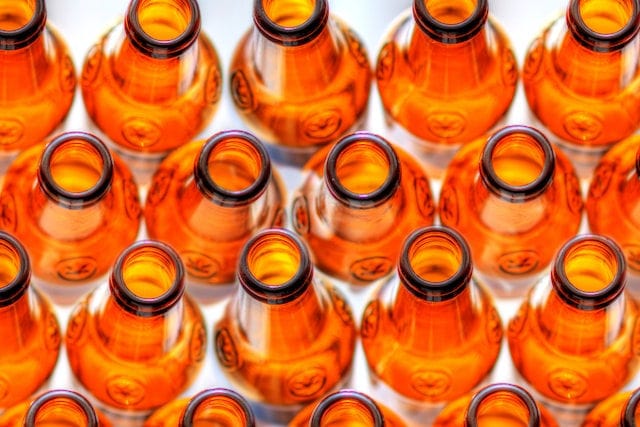
6. Bottling
Before you begin to bottle your beer, use the hydrometer again to determine your beer’s final gravity (FG), so you can calculate the beer’s approximate ABV using the following formula:
ABV = (OG – FG) x 131.25
Don’t forget that everything needs to be cleaned, including the bottles, bottle filler, bottle caps, bottling bucket, and transfer hoses. To clean your bottles, use a bottle brush.
For carbonation, add priming sugar to each bottle (priming sugar drops are easiest). You will need to find out how much priming sugar is necessary for your recipe to ensure your bottles don’t spray when opening. 3-4 priming sugar drops will usually do it.
Transfer the beer from your fermenter and start filling your bottles. Connect the bottle filler to a hose and the hose to the bottling bucket spigot. Open the bottling bucket’s spigot and insert the bottle filler into the bottom of the bottle.
You can fill your bottles to the top. The top of the bottle will have the ideal amount of leftover space when the bottle filler is removed. Using caps and a bottle capper, seal the bottles.
Keep the bottles at room temperature for about three weeks in a cool, dry place to bottle condition. Then the final piece of the jigsaw is to place your bottles in your fridge for 12-24 hours, then… drumroll, enjoy!
Beer Brewing Tips
If you want to start brewing beer, here are some suggestions. It will be simpler, more enjoyable, and hopefully tastier if you learn the fundamentals and form good habits early on.
- Before beginning, knowing every step in your brew recipe is crucial.
- Start with a relatively straightforward brew.
- Be patient; leaving your beer in the cellar or fermenter longer than necessary won’t go bad.
- Sterilisation and sanitation are two concepts you should always take incredibly seriously.
- It’d be best to try to cool your wort as quickly as possible.
- You will make a better home-brewed beer with quality, fresh ingredients.
- Fermenters made of stainless steel or glass are far better than plastic.
- A home brewery requires investment if you intend to brew beer frequently.
- Don’t forget to have fun! You are making beer, after all!
Home Beer Brewing Video Guide
Check out this super helpful and fun video on how to brew beer at home created by Joshua Weissman. Don’t forget to show Joshua some love by subscribing to his channel!
Conclusion
Everything requires practice, so your first attempt at learning how to brew beer at home might not turn out exactly as you expect. You can advance to more complicated recipes once you’ve mastered the fundamentals.
The sooner you master it, the sooner you can experiment with brewing mead, cider, and of course, other exciting varieties of beer.
Further Reading
Below are some additional articles from The Drinks Geek blog. We write articles on several fascinating areas of drinks, including different brands, drink types, cocktail recipes and more.